Beginner · ⅛–1 inch
How to repair holes from ⅛ to 1 inch
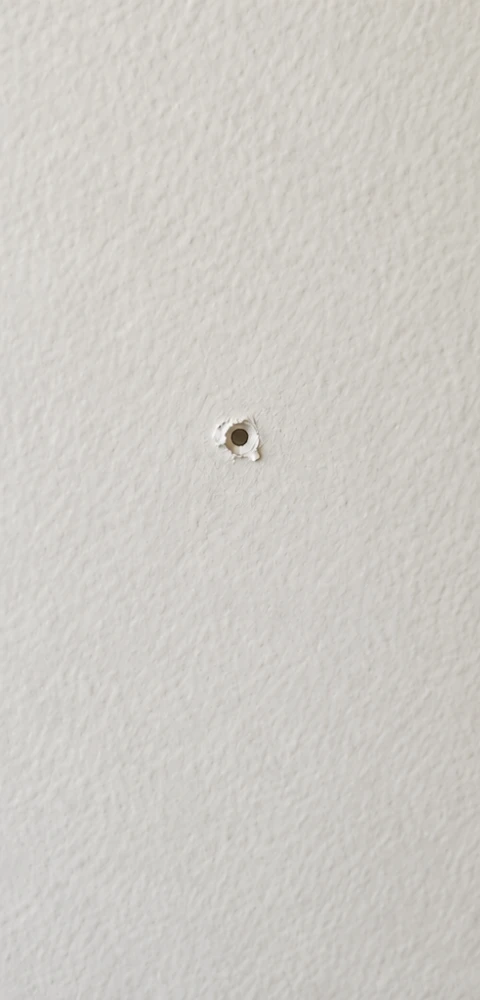
For holes from ⅛ to 1 inch (3–25 mm) in dry, sound drywall. Unsupported openings need a patch, not spackle alone.
See materials and steps↗
Repair your walls step by step. Find easy-to-source materials, basic tools and tips for matching texture before painting.
Explore tutorials ↓From a nail hole to a large patch: choose the repair size that matches your wall.
For holes from ⅛ to 1 inch (3–25 mm) in dry, sound drywall. Unsupported openings need a patch, not spackle alone.
See materials and steps↗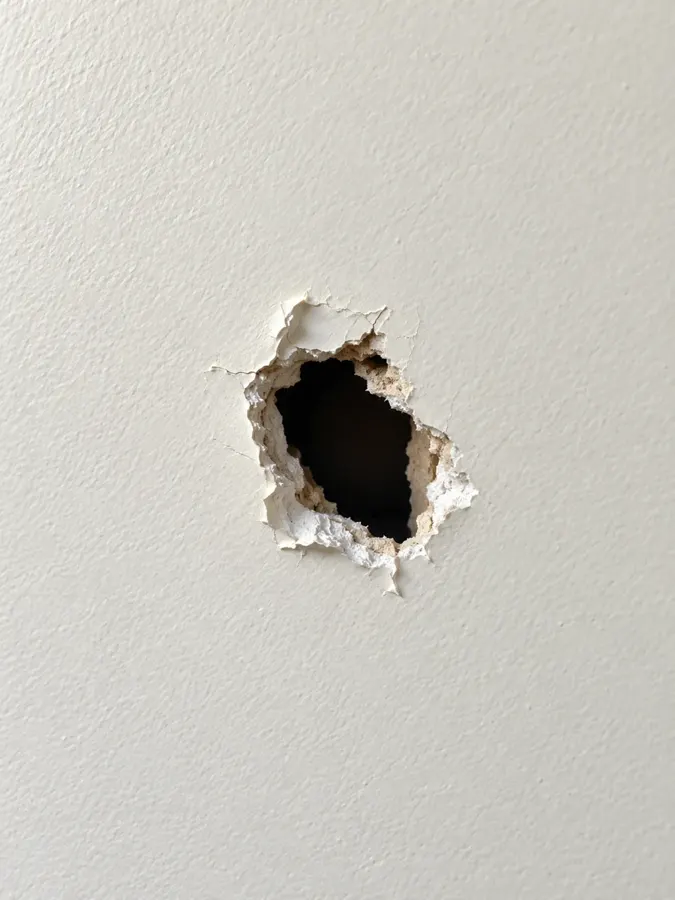
For irregular openings from 1 to 2.5 inches (2.5–6.4 cm) in dry, sound interior drywall. Use a reinforced patch that covers the entire opening.
See materials and steps↗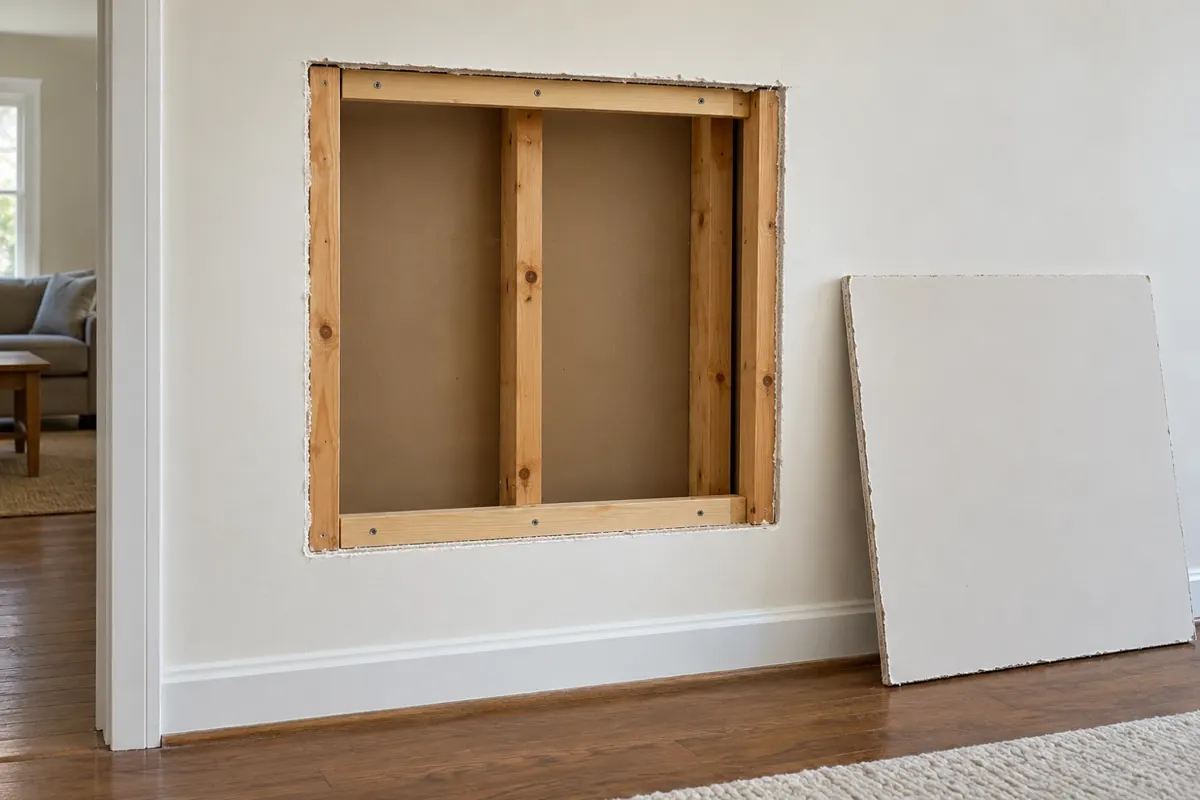
For replacing a wall section approximately 24 × 24 to 36 × 36 inches. This repair needs new drywall, solid backing, screws and joint tape.
See materials and steps↗Compare smooth, orange peel and knockdown. Identify your finish and follow the steps to match it before painting.
See textures and steps↓For holes from ⅛ to 1 inch (3–25 mm) in dry, sound drywall. Unsupported openings need a patch, not spackle alone.
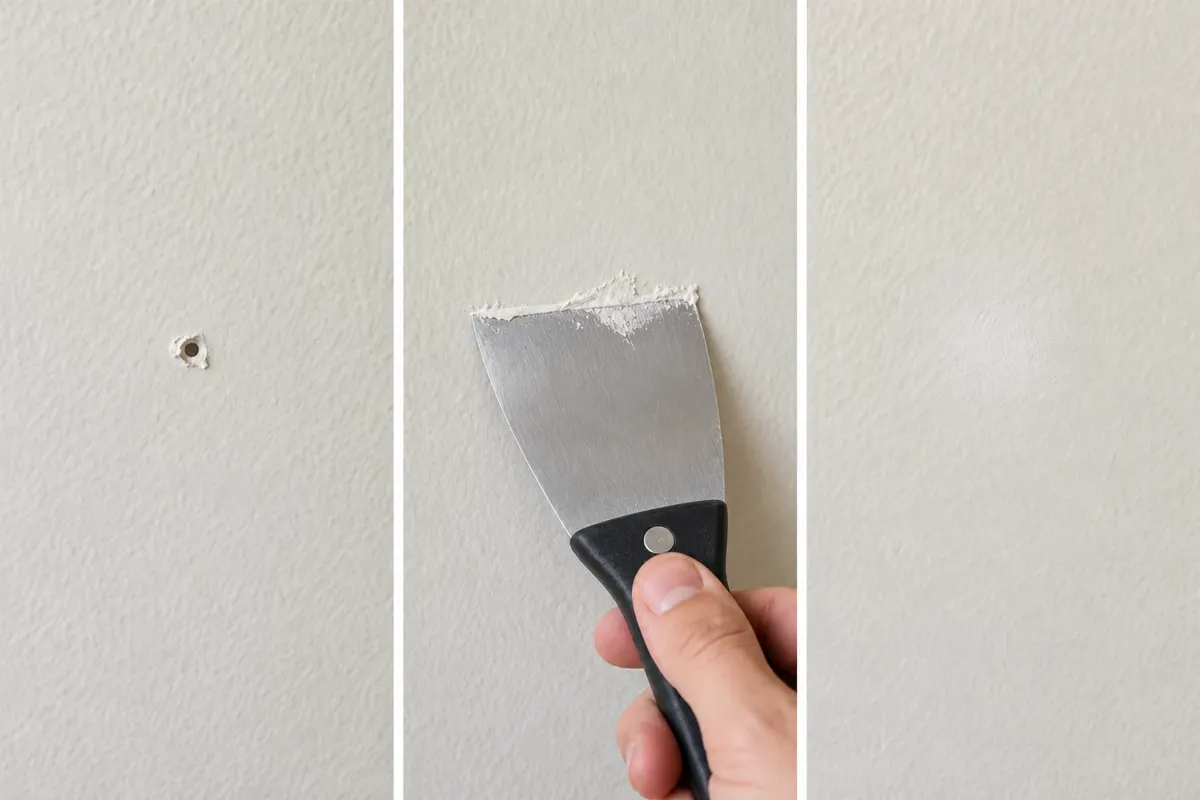
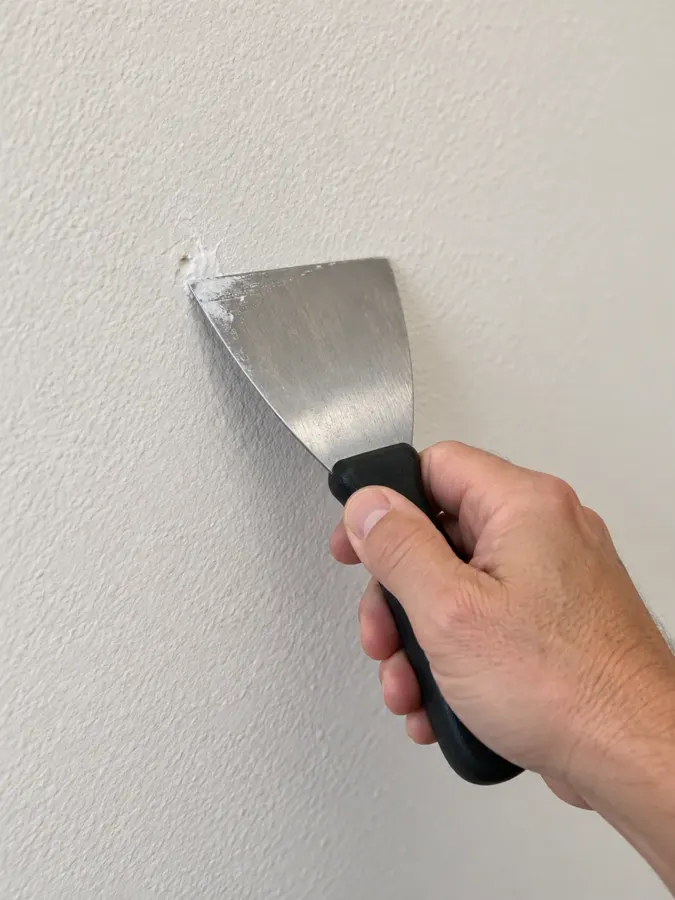
Wipe away dust with a clean, well-wrung yellow sponge and let dry. Use the knife to remove only paint that is already loose. Do not enlarge the hole.
If filler would fall into the wall cavity, center the patch on a clean, dry surface. Its reinforcement must cover the opening, with the label-required overlap on sound drywall. Do not push the patch into the hole.
For a tiny hole, press in a little spackle and remove the excess. Over a patch, use the label-specified compatible filler and feather it with the 6-inch knife. Let each coat dry, then widen later coats to blend the edges. Never fill an unsupported opening.
Follow the product label. Drying depends on thickness, humidity and the product. Do not sand or paint wet filler. If it shrinks below the surface, add another thin layer and let it dry.
If there is a raised edge, gently smooth it with a fine-grit sanding sponge. Avoid sanding the surrounding paint. Wipe away dust with a clean, well-wrung yellow sponge and let dry.
If the repair changed the texture, follow the section below before painting. Do not add texture to a smooth wall. Prime when required by the product and follow drying times. Use matching paint and sheen; aged paint may require painting corner to corner.
Before you start: these guides cover dry, firm, painted drywall walls reachable from the floor. Stop for moisture or mold and resolve the cause. Torn face paper needs the preparation described in the small-hole guide. For homes built before 1978 or unknown coatings, check for lead before sanding. When sanding known materials, wear safety glasses and an N95 respirator, ventilate and keep others away from dust.
Request an estimate on our website. Share your project details and photos through our estimate section.
Find a professional in Colorado Springs ↗We would love to hear how it went. Your opinion helps more people discover IBANEZ DRYWALL. Share your actual experience with the guide or our services.
Share my opinion on Google ↗For irregular openings from 1 to 2.5 inches (2.5–6.4 cm) in dry, sound interior drywall. Use a reinforced patch that covers the entire opening.
Gently use the knife to remove only paint flakes and paper that are already detached. Do not pull off sound paper or push the tool inside the wall. Wipe away dust with a clean, well-wrung yellow sponge and let dry.
Remove the backing and position the patch on the clean, dry wall. The reinforcement must cover the full hole, with mesh adhering to sound wall all around. Press the edges flat without pushing the center into the opening.
Transfer a small amount of compound from the tub into the mud pan using a clean tool you already own. Load the 6-inch knife from the pan and spread a thin coat over the patch. Cover the reinforcement and mesh without forming a mound. Feather the edges onto the surrounding wall. Let dry fully according to the label. Clean the tool and pan afterward.
Apply another thin coat, extending about 2–3 inches beyond the patch on each side to blend the raised area. Use overlapping passes. Let dry and check with side lighting. Add another thin coat if mesh remains visible or there are low spots.
Once fully dry, gently smooth raised marks without exposing mesh or metal. Wipe away dust and let dry. For a textured wall, follow the section below, including primer before and after aerosol where directed. Finish with matching paint and sheen.
Before you start: these guides cover dry, firm, painted drywall walls reachable from the floor. Stop for moisture or mold and resolve the cause. Torn face paper needs the preparation described in the small-hole guide. For homes built before 1978 or unknown coatings, check for lead before sanding. When sanding known materials, wear safety glasses and an N95 respirator, ventilate and keep others away from dust.
Request an estimate on our website. Share your project details and photos through our estimate section.
Find a professional in Colorado Springs ↗We would love to hear how it went. Your opinion helps more people discover IBANEZ DRYWALL. Share your actual experience with the guide or our services.
Share my opinion on Google ↗For replacing a wall section approximately 24 × 24 to 36 × 36 inches. This repair needs new drywall, solid backing, screws and joint tape.
Look for leaks, water marks, musty odors, blistered paint and soft drywall before opening the wall. Check inside when visible. Stop for suspected mold: do not dry-sand it, scrape it dry or cover it with the patch. Resolve the water source and assess cleanup or removal of affected material first. Extensive mold, contaminated water or hidden damage calls for a remediation professional. Never close a wet cavity.
Locate studs and use a light through the existing opening to inspect for wiring, plumbing and other obstacles. A stud finder does not prove an area is clear. Isolate the relevant circuit and verify absence of voltage before work near utilities. If you cannot identify or safely verify the area, get professional help before cutting or driving screws. Do not cut framing or utilities.
Mark a square or rectangle that removes all damaged material. Where practical, bring side cuts to stud centers so the old wall and patch share support. The final opening may grow beyond the initial size if damage continues. Measure again before buying or cutting the replacement.
Cut only through the panel thickness with controlled passes. Do not push a blade blindly into the cavity. Remove loose pieces and fasteners. Check framing, insulation and the wall back again; they must be sound and dry. Correctly preserve or restore existing insulation and barriers before closing.
Every edge must rest on a stud or secure wood backing. At unsupported seams, place flat backing behind the joint so part supports the old wall and part receives the patch screws. For end-supported strips, extend about 3–4 inches beyond the opening and secure each end with at least two separated screws into sound wood. Add intermediate support as needed to keep support spacing at no more than 16 inches in this example. Keep all screws clear of utilities and check that backing is firm.
Match the existing drywall thickness and type. Score the face paper with a utility knife and straightedge, snap the gypsum, then cut the back paper. Trim for a small gap, about ⅛ inch, without forcing the piece. The face must sit flush with the wall.
Hold the piece in place and screw it to studs and backing. For this ordinary wood-framed wall, space screws about 8 inches along edges and no more than 16 inches on intermediate supports, following the panel instructions. Stay at least ⅜ inch from edges. Set heads just below the surface without tearing paper. If paper tears, add a nearby screw into sound backing. The patch should not move under gentle pressure.
Transfer a little All Purpose into the mud pan with a clean tool. Follow the label and avoid unnecessary added water. Fill small gaps and screw dimples with the 6-inch knife. Let the fill dry before taping. Correct large gaps or unsupported edges rather than hiding them with compound.
Spread a continuous thin bed of All Purpose along each seam. Center the paper tape and use the 6-inch knife to wipe out excess. Leave compound under the full tape width without bubbles; do not squeeze it completely dry. Avoid bulky tape buildup where ends meet. Let dry fully.
Use the 10-inch knife to cover the tape and gradually feather onto the surrounding wall. Let every coat dry before the next; premixed compound often needs a day or longer depending on thickness, temperature and humidity. Apply two or three coats as needed and follow the label. Cut-edge joints may need a wider finish to hide buildup. Avoid a mound in the center.
Once fully dry, wear glasses and an N95 and gently smooth raised marks with the fine-grit sponge. Do not expose tape or abrade face paper. Use side lighting to find low spots; fill with a thin coat and dry again. Wipe away dust with a clean, well-wrung yellow sponge and let dry.
Follow the texture section below and practice on an offcut before texturing the patch. Ask for help if you cannot match the finish. Follow the selected product’s primer and drying directions. Finish with matching paint, sheen and roller type; the entire wall may need repainting for an even appearance.
Before you start: these guides cover dry, firm, painted drywall walls reachable from the floor. Stop for moisture or mold and resolve the cause. Torn face paper needs the preparation described in the small-hole guide. For homes built before 1978 or unknown coatings, check for lead before sanding. When sanding known materials, wear safety glasses and an N95 respirator, ventilate and keep others away from dust.
Request an estimate on our website. Share your project details and photos through our estimate section.
Find a professional in Colorado Springs ↗We would love to hear how it went. Your opinion helps more people discover IBANEZ DRYWALL. Share your actual experience with the guide or our services.
Share my opinion on Google ↗Inspect sound wall next to the patch with side lighting. Match the existing finish and buy only the right product. These two aerosols are wall products; their nozzles are not for spraying ceilings.
Filler must be dry, firm, level and free of dust. Protect floors, furniture and nearby edges with coverings you already own. Ventilate and remove flames, sparks and other ignition sources as directed on the label. Wear eye protection and avoid inhaling spray; a sanding N95 does not replace the protection specified for spraying. For these Homax products, the manufacturer recommends primer before and after texture. Let each product dry.
Buy only the finish you need. For a 2–3 ft patch, check the can’s pattern-specific coverage and allow for a test. Heavier patterns use more material. These aerosol cans do not need a compressor or spray gun.
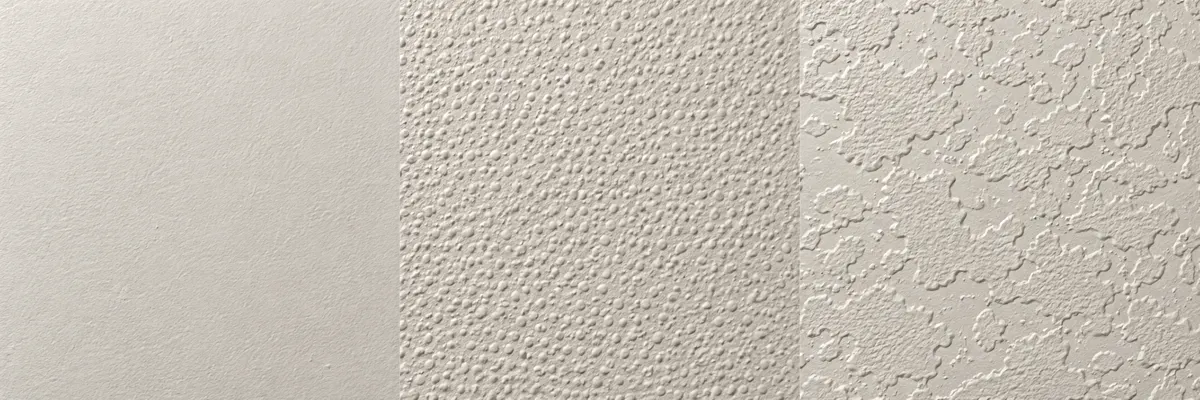
No raised dots or flat islands; you may see only the fine stipple from the paint roller.
Do not buy spray texture. Reuse the repair compound, knife and fine sponge.
Do not spray texture over a raised repair edge. Level it first.
Small rounded bumps resembling an orange skin, in fine, medium or coarse patterns.
Homax water-based Orange Peel, 20 oz can. Reuse compatible primer, spray protection and a scrap for testing.
Stop and adjust on scrap if the spray spits large drops or runs. Do not keep building up wet product.
Follow the directions on the container.Irregular flat-topped islands with lower spaces between them.
Homax water-based Knockdown, 20 oz can. Reuse a clean 6-inch or wider drywall knife with a smooth edge.
Do not flatten every splatter completely or wait until it hardens. Correct a mismatch while wet and practice again on scrap.
Follow the directions on the container.Trowel strokes, swirls or another finish? Orange peel and knockdown cans do not recreate every texture. Identify the finish with a specialist before buying. Ceiling finishes need a separate guide.
Return to painting my patch ↑Soft drywall, deeper damage and texture matching need a different approach. We can help with your drywall repair in Colorado Springs.